Introduction
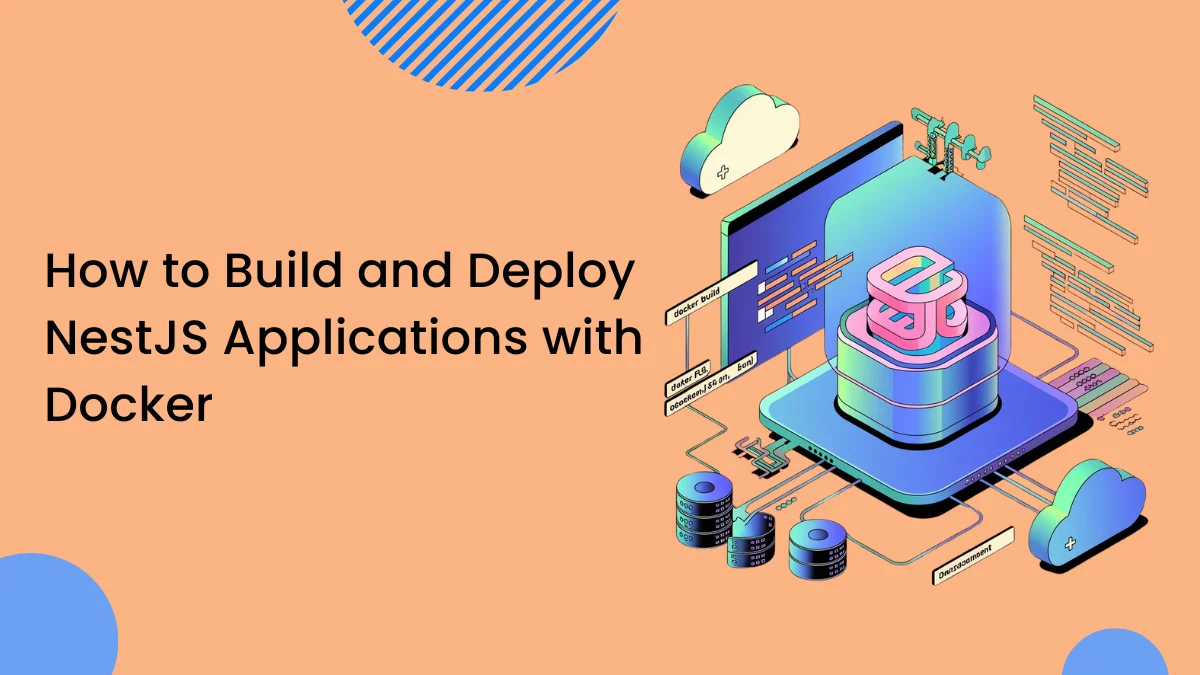
In modern development, containerization has become a standard practice for building, shipping, and running applications reliably across different environments. Docker, a popular containerization tool, simplifies the deployment process by packaging your application and its dependencies into a container that can run on any platform. When working with NestJS, a progressive Node.js framework, Docker ensures your application runs consistently, whether on your local machine or in the cloud.
This blog will guide you through building and deploying a NestJS application using Docker. We will cover everything from setting up a basic NestJS app to creating a Dockerfile, building a Docker image, and running it in a container.
Step 1 : Setting up a Basic NestJS Application
If you don’t already have a NestJS project, you can quickly scaffold a new one using the Nest CLI:
					npm i -g @nestjs/cli
nest new my-nestjs-app
This command generates a new project with the basic structure required for a NestJS application. You can navigate into the project directory to review the structure:
cd my-nestjs-app
After running the command, you’ll have a working NestJS project. You can start the development server using:
npm run start:dev
Once your application is up and running, let’s move on to Dockerize it.
Step 2 : Setting Up the Dockerfile
A Dockerfile is a script that contains a series of instructions to build a Docker image. In our case, we want to create an image of our NestJS application, so let’s create a Dockerfile at the root of your project.
Here’s a basic Dockerfile for a NestJS app:
					# Step 1: Use a Node.js base image
FROM node:18-alpine

# Step 2: Set the working directory inside the container
WORKDIR /app

# Step 3: Copy package.json and package-lock.json to the working directory
COPY package*.json ./

# Step 4: Install project dependencies
RUN npm install --only=production

# Step 5: Copy the rest of the application code to the working directory
COPY . .

# Step 6: Build the NestJS application
RUN npm run build

# Step 7: Expose the port the app will run on
EXPOSE 3000

# Step 8: Define the command to run the app
CMD ["npm", "run", "start:prod"]
Dockerfile Breakdown
- Base image : We are using node:18-alpine, a lightweight Node.js image based on Alpine Linux, which reduces the size of the image.
- Work directory : This specifies the directory in the container where your app’s code will reside (/app).
- Dependency installation : We copy package.json and package-lock.json files first and then run npm install. This helps Docker cache this step, avoiding unnecessary installs during minor code changes.
- Application code : We then copy the rest of the application files to the container.
- Build the app : We run npm run build to compile the TypeScript files.
- Expose port : This exposes port 3000, which is the default port for a NestJS application.
- Start the app : We use the production command (npm run start:prod) to start the application inside the container.
Step 3 : Creating a Docker Ignore File
Before building the Docker image, it’s essential to exclude files that don’t need to be inside the Docker container, such as node_modules from the local environment, and build artifacts. To do this, create a .dockerignore file at the root of your project:
touch .dockerignore
Add the following contents to it:
					node_modules
dist
Dockerfile
.dockerignore
.env
This ensures that unnecessary files are excluded from the Docker image.
Step 4 : Building the Docker Image
With the Dockerfile and .dockerignore set up, you’re ready to build the Docker image. Open a terminal in your project’s root directory and run:
docker build -t my-nestjs-app .
This command tells Docker to build an image from the Dockerfile and tag it as
my-nestjs-app.
You can verify that the image was built successfully by running:
docker images
This will display a list of available Docker images, including my-nestjs-app.
Step 5 : Running the Docker Container
Once the Docker image is built, you can run it in a container using the following command:
docker run -d -p 3000:3000 my-nestjs-app
This command runs the container in detached mode (-d) and maps port 3000 of the container to port 3000 on your machine (-p 3000:3000).
After running the command, you can access your NestJS application by visiting http://localhost:3000 in your browser.
To verify that the container is running, use:
docker ps
Step 6 : Pushing the Image to Docker Hub
If you want to deploy your NestJS application to a remote server, you’ll need to push your Docker image to a container registry like Docker Hub. To do this, follow these steps:
- Log in to your Docker Hub account from the terminal :
docker login - Tag your Docker image with your Docker Hub username :
docker tag my-nestjs-app <your-username>/my-nestjs-app - Push the image to Docker Hub :
docker push <your-username>/my-nestjs-app
Step 7 : Example of Deploying to ECS
- Create a Docker Image : Build your Docker image for the NestJS app.
docker build -t my-nest-app . - Create an ECS Cluster : Go to the AWS Management Console, navigate to ECS, and create a new cluster using the “EC2 Linux + Networking” template or the “Fargate” option if you want a serverless approach.
- Push Docker Image to Amazon ECR :
- Create a repository on Amazon ECR (Elastic Container Registry).
- Authenticate your Docker client with AWS:
aws ecr get-login-password –region <your-region> | docker login –username AWS –password-stdin <your-account-id>.dkr.ecr.<your-region>.amazonaws.com - Tag your Docker image:
docker tag my-nest-app:latest <your-account-id>.dkr.ecr.<your-region>.amazonaws.com/my-nest-app:latest - Push the image to ECR:
docker push <your-account-id>.dkr.ecr.<your-region>.amazonaws.com/my-nest-app:latest
- Create a Task Definition : Define your ECS task, specifying the Docker image from ECR and necessary resource requirements.
- Go to ECS > Task Definitions.
- Click Create new Task Definition.
- Choose Fargate or EC2 depending on your cluster type.
- Add the container, setting the image to the ECR URL, and configure CPU and memory.
- Run a Service :
- Go to ECS > Services and create a new service.
- Select your cluster and task definition, and configure the desired number of tasks.
- Choose the network settings (e.g., VPC, subnets, security groups).
- Expose your App : Set up a load balancer to expose your NestJS app to the internet.
- Go to EC2 > Load Balancers and create an Application Load Balancer.
- Add a listener for port 80 or 443.
- Register your ECS service to the load balancer target group.
- Access the App : Once deployed, you can access your NestJS application via the load balancer’s DNS name.
Conclusion
Docker makes deploying NestJS applications efficient and scalable. With containerization, you can ensure that your application behaves consistently across different environments, whether it’s local development or a production server.
