Introduction
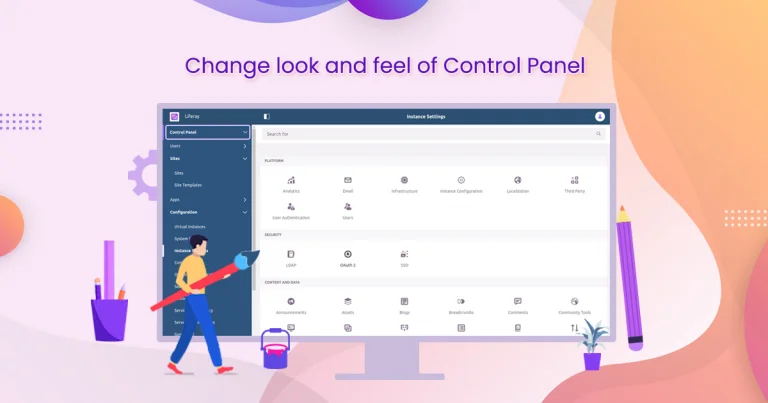
Liferay provided many customizations under the control panel. We can add our own portlet in the Liferay control panel. Here you will learn about how we can add a custom portlet into the Liferay control panel.
Prerequisites
- Java
- Liferay portal 7/7.x
Environment Requirement
- JDK 8
- Eclipse
- Liferay Portal
Follow below step for add portlet in control panel
1) Create MVC portlet
- Go to Liferay workspace project → modules → new.
- Select other → Liferay → Liferay Module Project and click on “Next”.
- Enter the project name.
- Select “Project Template Name” as “mvc-portlet” and click on “Next”.
- Enter a Package name and click on “Finish”. The necessary file structure for the MVC module will get created

Add the below property in the Portlet class
					// StudentPortlet.java
package com.ignek.portal.student.portlet;

@Component(
    immediate = true,
    property = {
        "com.liferay.portlet.display-category=category.hidden",
        "com.liferay.portlet.instanceable=true",
        "javax.portlet.display-name=Student Portlet",
        "javax.portlet.init-param.template-path=/",
        "javax.portlet.init-param.view-template=/view.jsp",
        "javax.portlet.name=" + StudentPortletKeys.PORTLET_ID,
        "javax.portlet.resource-bundle=content.Language",
        "javax.portlet.security-role-ref=power-user,user",
    },
    service = Portlet.class
)
public class StudentPortlet extends MVCPortlet {

}
2) Implement your constants class
Add below code in your constants class.
					// StudentPortletKeys.java
package com.ignek.portal.student.constants;

public class StudentPortletKeys {

	public static final String PORTLET_ID = "com_ignek_portal_student_portlet_StudentPortlet";

}
3) Add Dependency
Add below line in “build.gradle” of your new MVCPortlet.
compileOnly group: “com.liferay”,name:”com.liferay.application.list.api”
4) Create your panel app component class
This class must extend the BasePanelApp Class and declare it as a service using service = PanelApp.class.
					//  StudentPanelApp.java
package com.ignek.portal.student.portlet;

@Component(
    immediate = true,
    property = {
        "panel.app.order:Integer=0",
        "panel.category.key=" + PanelCategoryKeys.CONTROL_PANEL_USERS
    },

    service = PanelApp.class)

public class StudentPanelApp extends BasePanelApp {

    @Override
    public String getPortletId() {
        return StudentPortletKeys.PORTLET_ID;
    }
    @Override
    @Reference(target = "(javax.portlet.name=" + StudentPortletKeys.PORTLET_ID + ")", unbind = "-")
    public void setPortlet(Portlet portlet) {
        super.setPortlet(portlet);
    }
}
Lets understand following:
“panel.category.key” defines the category which is “control_panel.users” in our case. So our Student portlet will be added under “Users” section in control panel.
“panel.app.order” defines the portlet position in the portlet list under “Users” section in control panel.
Now your necessary file structure will get created as below.

5) Deploy your module and you can see your module in the Liferay control panel


