Introduction
In modern applications, effective error handling is crucial for providing a smooth user experience and maintaining application stability. Exception handling is essential for managing runtime errors, allowing developers to respond smoothly to unexpected issues. However, managing exceptions in large Spring Boot applications can become complicated if each controller or service handles them separately.
In this blog, we’ll explore how to use @ControllerAdvice and @ExceptionHandler to master global exception handling, making your application simpler, easier to manage, and more efficient.
Prerequisites
- JDK 11 or later
- Maven or Gradle
- Spring Boot Development Environment (here IntelliJ IDEA)
What is global exception handling in spring boot
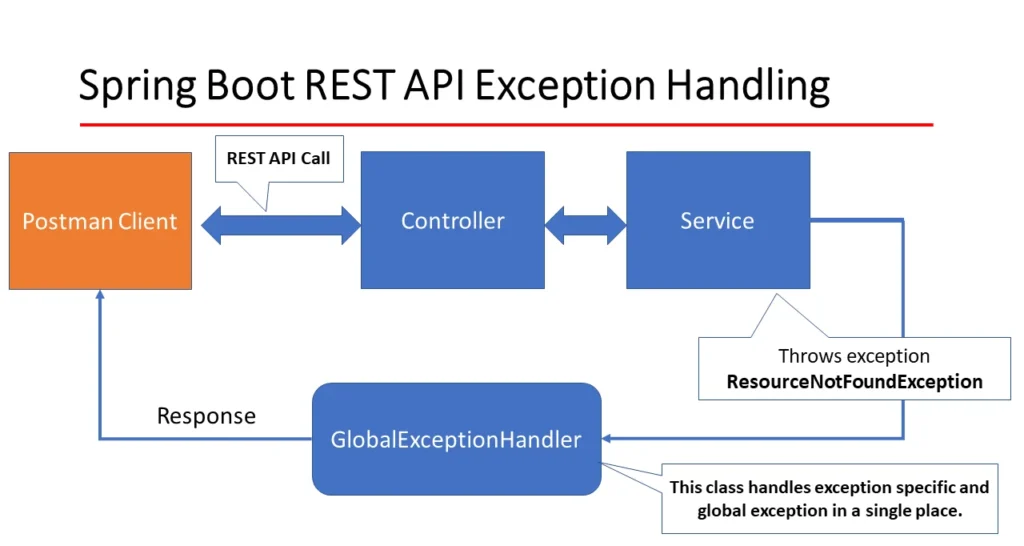
In Spring Boot, global exception handling allows you to manage errors for the entire application from one central place, instead of handling exceptions in each controller or method separately.This approach makes your code cleaner and ensures consistent error responses.
Global exception handling in Spring Boot offers several benefits, including
- Improved user experience
- A consistent strategy for error management helps maintain a seamless user experience.
- Easier code maintenance
- Centralized exception-handling logic makes it easier to update error-handling strategies without modifying multiple places in the codebase.
- Efficient debugging and issue resolution
- A centralized approach allows for unified logging and analytics of exceptions.
Spring Boot provides two main tools for global exception handling
- @ControllerAdvice is an annotation in Spring Boot that defines a global exception handler. It allows you to manage exceptions for all controllers in a centralized manner, making error handling more efficient and keeping your code clean and organized.
- @ExceptionHandler is an annotation used within a @ControllerAdvice class to define methods that handle specific exceptions. It allows you to create custom responses for different types of exceptions that occur in your Spring Boot application.

Why Use a Global Exception Handler
A global exception handler in Spring Boot offers several key benefits:
- Centralized Management : It allows you to handle exceptions from a single location, streamlining the error-handling process and reducing redundancy.
- Cleaner Code : By separating error-handling logic from business logic, your code remains clean and maintainable, allowing you to focus on the application’s core functionality.
- Consistent Error Responses : A global handler ensures uniform error response structures, making it easier for clients to understand and process errors.
- Improved Debugging : Centralizing exception handling facilitates better logging and error tracking, aiding in the identification of issues.
- Flexible Response Handling : You can define custom responses for different exceptions, enhancing user communication and improving the user experience.
- Reduced Duplication : By centralizing error-handling behavior, you avoid code duplication across controllers, simplifying maintenance and updates.
Implementing Global Exception Handling
In this example, we will create a simple Spring Boot application for managing employees, implementing global exception handling to ensure that any errors are handled consistently across the application.
Project Structure
Controller : Handles incoming requests.
Service : Contains business logic.
Repository : Interacts with the database.
Model : Defines the data structure.
Exception : Contains custom exceptions.
Common : Contains response format.
Step 1 : Add Dependencies (Configuration)
Before implementing any logic, ensure you have the necessary dependencies for Spring Boot, validation, and JPA in your pom.xml
					<dependency>
    <groupId>org.springframework.boot</groupId>
    <artifactId>spring-boot-starter-web</artifactId>
</dependency>
<dependency>
    <groupId>org.springframework.boot</groupId>
    <artifactId>spring-boot-starter-data-jpa</artifactId>
</dependency>
<dependency>
    <groupId>org.springframework.boot</groupId>
    <artifactId>spring-boot-starter-validation</artifactId>
</dependency>
<dependency>
    <groupId>org.springframework.boot</groupId>
    <artifactId>spring-boot-starter-test</artifactId>
    <scope>test</scope>
</dependency>
These dependencies are essential for
- Web : Building RESTful APIs.
- JPA : Interacting with the database.
- Validation : Handling field-level validation, such as in your Employee entity.
- Test : For writing unit and integration tests.
Step 2 : Create the Employee Model
This class represents the employee entity and contains validation annotations to ensure the integrity of the data.
					@Data
@NoArgsConstructor
@AllArgsConstructor
@Entity
public class Employee {

  @Id
  @GeneratedValue(strategy = GenerationType.IDENTITY)
  private Long employeeId;

  @NotNull(message = "Invalid Name: Name is NULL")
  @Pattern(regexp = "^[A-Za-z0-9 ]*$", message = "Please enter only string")
  private String employeeName;

  @Email(message = "Invalid email")
  @NotNull(message = "Email cannot be NULL")
  private String email;

  @Pattern(regexp = "^\\d{10}$", message = "Invalid phone number")
  @NotNull(message = "Invalid Phone number: Number is NULL")
  private String phoneNumber;
}
Step 3 : Create the Employee Repository
This interface extends JpaRepository to provide CRUD operations for the Employee entity.
					@Repository
public interface EmployeeRepository extends JpaRepository<Employee, Long> {
}
Step 4 : Create the Employee Service
In this step, we’ll create the EmployeeServiceImpl class, which contains the business logic for managing employees. This includes methods to add, retrieve, update, and delete employees. Additionally, we’ll handle exceptions to ensure our application can gracefully manage scenarios where an employee is not found.
					@Service
public class EmployeeServiceImpl implements EmployeeService {

  private final EmployeeRepository employeeRepository;

  public EmployeeServiceImpl(EmployeeRepository employeeRepository) {
    this.employeeRepository = employeeRepository;
  }

  @Override
  public Employee addEmployee(Employee employee) {
    return employeeRepository.save(employee);
  }

  @Override
  public List<Employee> getEmployee() {
    return employeeRepository.findAll();
  }

  @Override
  public void deleteEmployee(Long employeeId) {
// Throws ResourceNotFound exception if the employee does not exist
    Employee existEmployeeId = employeeRepository.findById(employeeId).orElseThrow(() ->
        new ResourceNotFound("Employee not Exists in id : " + employeeId));
    if(existEmployeeId!= null){
      employeeRepository.deleteById(employeeId);
    }
  }

  @Override
  public Employee updateEmployee(Long employeeId, Employee employee) {
// Throws ResourceNotFound exception if the employee does not exist
    Employee existEmployee = employeeRepository.findById(employeeId).orElseThrow(() ->
        new ResourceNotFound("Employee not Exists in id : " + employeeId));
    employee.setEmployeeName(existEmployee.getEmployeeName());
    employee.setEmail(existEmployee.getEmail());
    employee.setPhoneNumber(existEmployee.getPhoneNumber());
    return employeeRepository.save(existEmployee);
  }
}
In the EmployeeServiceImpl class, we handle exceptions to ensure robust error management. Specifically, the deleteEmployee and updateEmployee methods throw a ResourceNotFound exception if the specified employee ID does not exist in the database. This exception handling mechanism ensures that our application can gracefully handle scenarios where operations are attempted on non-existent employees, providing clear and informative error messages to the client.
Step 5 : Create the Employee Controller
This class handles incoming requests and returns responses. It communicates with the service layer and implements the error handling logic.
					@RestController
@RequestMapping("/employee")
public class EmployeeController {

  private final EmployeeServiceImpl employeeService;

  public EmployeeController(EmployeeServiceImpl employeeService) {
    this.employeeService = employeeService;
  }

  @PostMapping("/add")
  public ResponseEntity<Response> add(@Valid @RequestBody Employee employee){
    try{
      employeeService.addEmployee(employee);
      return new ResponseEntity<>(new Response("Employee added Successfully",Boolean.TRUE),
          HttpStatus.CREATED);
    }catch (Exception e){
      return new ResponseEntity<>(new Response(e.getMessage(),Boolean.FALSE),HttpStatus.BAD_REQUEST);
    }
  }

  @GetMapping("/get")
  public ResponseEntity<Response> get(){
    try{
      employeeService.getEmployee();
      return new ResponseEntity<>(new Response("Employees",Boolean.TRUE),
          HttpStatus.OK);
    }catch (Exception e){
      return new ResponseEntity<>(new Response(e.getMessage(),Boolean.FALSE),HttpStatus.BAD_REQUEST);
    }
  }

  @DeleteMapping("/delete/{id}")
  public ResponseEntity<Response> delete(@PathVariable("id") Long employeeId){
    try{
      employeeService.deleteEmployee(employeeId);
      return new ResponseEntity<>(new Response("Employees deleted successfully",Boolean.TRUE),
          HttpStatus.OK);
    }catch (Exception e){
      return new ResponseEntity<>(new Response(e.getMessage(),Boolean.FALSE),HttpStatus.BAD_REQUEST);
    }
  }

  @PutMapping("/update/{id}")
  public ResponseEntity<Response> update(@PathVariable("id") Long employeeId,Employee employee){
    try{
      employeeService.updateEmployee(employeeId,employee);
      return new ResponseEntity<>(new Response("Employees updated successfully",Boolean.TRUE),
          HttpStatus.OK);
    }catch (Exception e){
      return new ResponseEntity<>(new Response(e.getMessage(),Boolean.FALSE),HttpStatus.BAD_REQUEST);
    }
  }
}
Step 6 : Create the Global Exception Handler
This class is responsible for handling exceptions globally. It will capture and respond to any exceptions thrown in the application.
					@RestControllerAdvice
public class GlobalExceptionHandler {

  @ResponseStatus(HttpStatus.BAD_REQUEST)
  @ExceptionHandler({MethodArgumentNotValidException.class})
  public Map<String, String> handleInvalidArgument(MethodArgumentNotValidException exception) {
    Map<String, String> errorMap = new HashMap<>();
    exception.getBindingResult().getFieldErrors()
        .forEach(error -> errorMap.put(error.getField(), error.getDefaultMessage()));
    return errorMap;
  }

  @ExceptionHandler(ResourceNotFound.class)
  public ResponseEntity<Response> handleResourceNotFound(ResourceNotFound ex) {
    Response response = new Response(ex.getMessage(), false);
    return new ResponseEntity<>(response, HttpStatus.NOT_FOUND);
  }
}
Step 7 : Create the Custom Exception
This class represents a custom exception that will be thrown when a requested resource is not found.
					public class ResourceNotFound extends RuntimeException{
  public ResourceNotFound(String message) {
    super(message);
  }
}
Step 8 : Create a Common Response Class
This class is used to standardize responses throughout the application, making it easier for clients to handle responses.
					@Data
public class Response {
    private String message;
    private Boolean status;

    public Response(String message, Boolean status) {
        this.message = message;
        this.status = status;
    }
}
Handling a Exception
By implementing global exception handling, we ensure that our application provides clear and consistent error messages. For example:
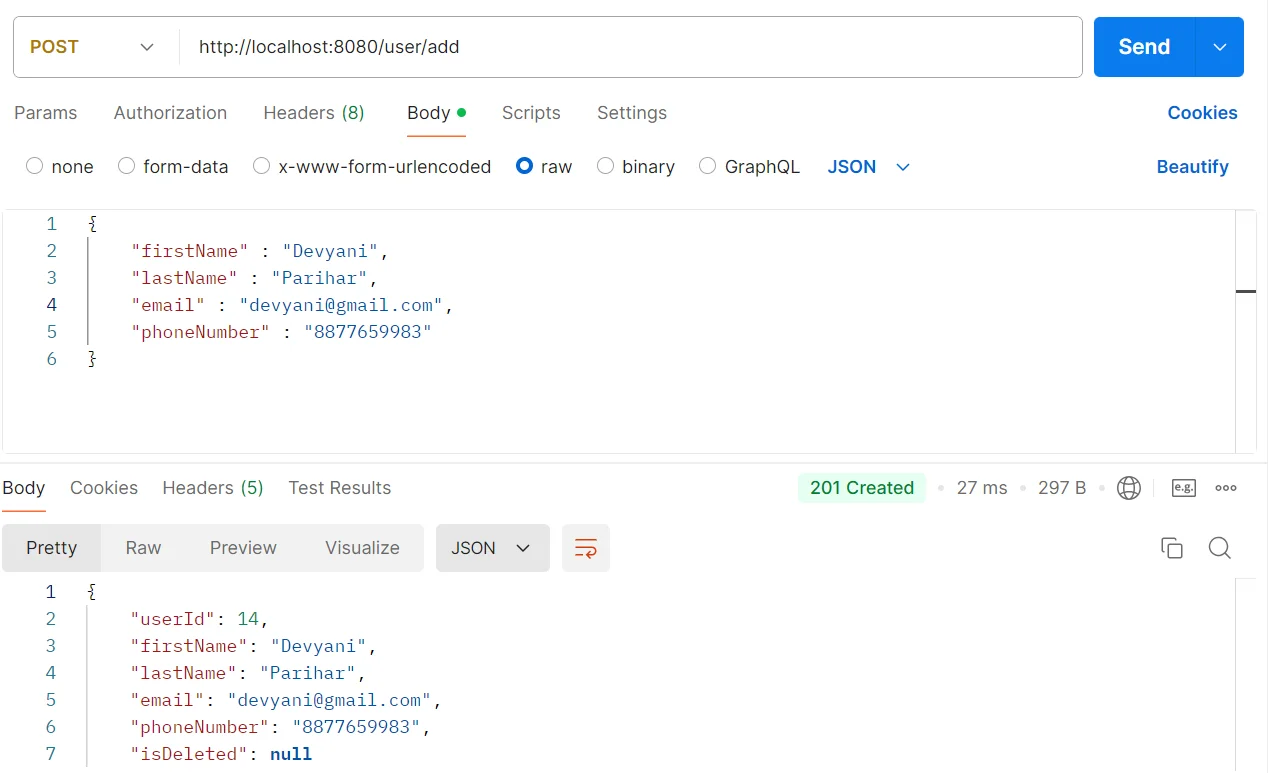
- Validation Errors : If a user submits invalid data, the application will return a structured response indicating which fields are invalid. Example:

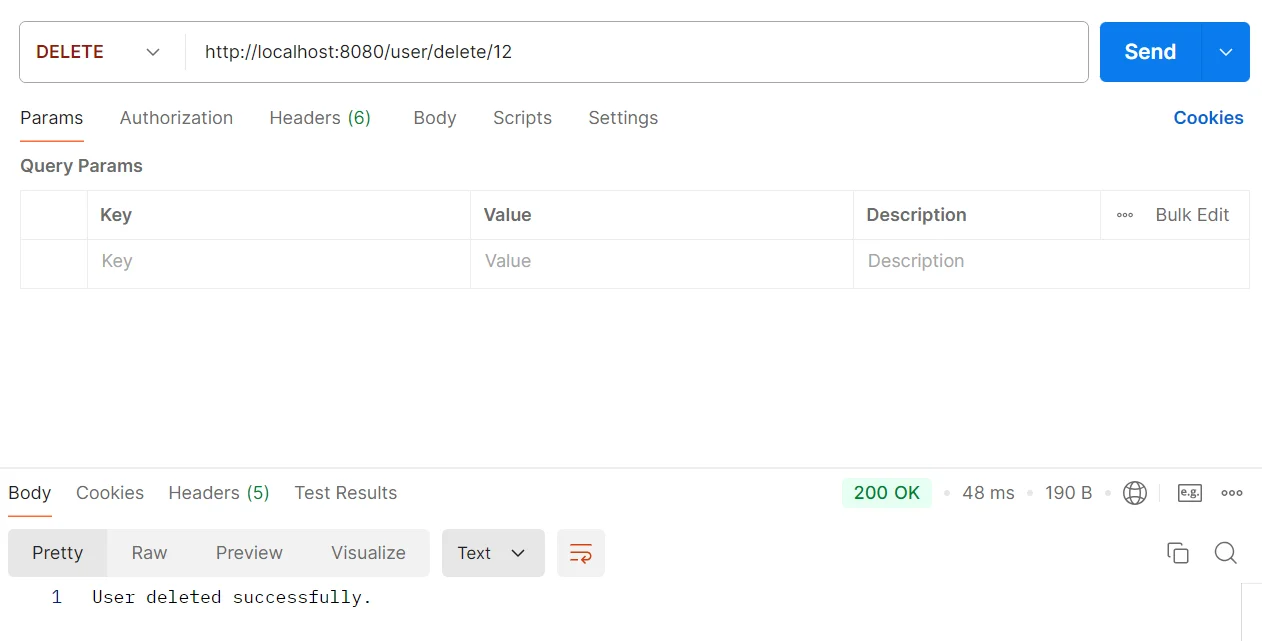
- Resource Not Found : If a user tries to access a non-existent employee, the response will look like this

Conclusion
In summary, mastering global exception handling in Spring Boot is essential for building resilient and user-friendly applications. By centralizing error management with @ControllerAdvice and @ExceptionHandler, developers can ensure that exceptions are handled consistently and gracefully across the entire application. This not only improves code maintainability and readability but also enhances user experience by providing clear and meaningful error responses. Implementing a robust exception handling strategy allows applications to handle unexpected errors effectively, paving the way for smoother operations and better overall performance. Embracing these practices will equip you with the tools necessary to create applications that are not only functional but also reliable and easy to use.
